Type Three Tuning Page -- Windshield cleaning system
Please select the area of interest:


Stock
Custom
6V to 12V Windshield Wiper Motor Reducer.
This is written with Beetle wipers in mind; I wonder if (larger) Type 3 wipers
might use more current. This could need a minor change to resistance value(s).
Dave.
UK VW Type 3&4 Club
http://www.hallvw.clara.net/
Here's the deal - from a VW mechanic here in Australia.
By Lance Plahn, Australia, and reproduced with his permission.
More and more VWs have been converted to 12volt. This confronts us with problem
of the wiper motor, running 12volt through the 6volt unit thus causing the motor
to go so fast, resulting in the linkages to prematurely wear out, hard to turn
the wipers off, and the motor to burn out.
One way that works is to fit 12volt wiper motor from a later model, but firstly
a good secondhand unit is hard to find, not to mention the high price tag. By
fitting a resistor of the correct values it will overcome the forementioned
problems, with no commercially made to resistor on the market made for this
purpose, you will have to make one. This is a very simple operation, taking
approximately one hour, costing under $10.00. NOTE: this resistor is designed to
work only on the wiper, it doesn't reduce 12volts to 6volts, it is a current
limiter.
Obtain the following from an electronic supplier:-
1- 330 OHM 1/2 watt resistor
1- 470 OHM 1 watt resistor
1- TIP 142 transistor (NPN 10amp 100 volt rating)
1- TO3 insulation pack (mica and nylon washer)
1- tube heat-sink compound
You will also need the following:
100mm of aluminium angle ( 25mm x 25mm x 3mm )
some automotive wire in brown, red and blue
Now to assemble, take the TIP142 transistor, hold with part number up and the
three legs pointing towards you. Bridge (connect) the left hand leg to the
middle leg by using the 330 OHM 1/2 watt resistor, soldering into position.
Solder the 470 OHM 1 watt resistor to the end of the left leg and then a length
of wire (brown) to the other end of that resistor. Solder a length of wire (red)
to the middle leg. Finally then, solder a length of blue wire (approx. 6" to 12"
long, depending on where you mount the resistor) to the right hand leg.
    |--------------|
    |  TIP 142     |
    |              |
    |              |
    |--------------|
     |     |      |
     |     |      |
     |-330-|      |
     |     |      |
    470    |     blue
     |    red     |
    brown  |     wiper
     |    fuse   switch
    earth
Because the transistor generates heat, it is necessary to fit it to a heat sink
to ensure maximum life. I have used this method on vehicles for over eight years
now without any problems. Some aluminium angle 4" long will do. Drill a hole in
the angle larger than the bolts to be used, fix the transistor to the angle,
placing the insulation (mica) between the transistor and angle and using a small
amount of heat sink compound (to aid the heat transfer) on both sides of the
mica. Place the nylon washer between the nut of the retaining bolt and the
transistor. Meaning that the transistor should not make electrical contact with
the aluminium angle but be mounted to it. Now drill two holes in the aluminum
angle (other side) to enable mounting to the body of the car, again use the heat
sink compound (between the aluminium angle and the body) to aid heat transfer.
Now connect to the vehicle. Remove the power wire from the fuse box to the wiper
switch. Hold the transistor as before (part number up, wires pointing towards
you). Connect the wire on the left to an earth. The wire in the middle is
connected to the fuse box, and the wire on the right is connected to the wiper
switch.
I guess you could fiddle a bit with the resistor numbers to get different speeds
for the wiper. Now there's a thought, two speed wipers by 'switching' different
resistors! I'm not familiar with the actual circuitry here - I never got past
valves (showing my age!), so I'm not sure which resistor or which values to try.
THE END
> The 6V wiper motor on my car (65 Notch) had 3 wires coming out of it. The only
12V
> one I can find has 4 wires (out of a 69 Square). I've got it hooked up
> and working by trial and error. One wire has nothing hooked to it. The
> only problem I have with it is that when I turn it off, the wipers just
> stop where ever they are. Is there a way I can hook it up so that they
> park automatically?
I suspect that 6V motor was just a single speed motor (although used with a
rheostat for reducing that speed.) The 12 V motor is a 2 speed motor.
Each motor will have:
- a ground wire
- a wire for each speed
- a hot wire to allow "parking"
You have probably not hooked up the last wire to 12V. This should be 12V even
when the wiper switch is off, but should turn off when the key is turned OFF.
Intermittent Wiper System by Per Lindgren
The wiper lever with the washer switch valve is the same as on the 72-up Beetle
and Superbeetle. Also very early Rabbits had the same switch, but without the
washer valve. The electrical part is the same, and can be transferred to the
type1/3 switch. The benefit is that the early Rabbit often had intermittent
wipers, with the necessary contacts inside. They also had the electric washer,
with the proper contacts. The type3 had an automatic wipe feature when you
washed, all contacts are there (just like new cars). A cool extra, no problem to
install. A bit of wiring to do, though.
- Intermittent wiring diagram (264Kb
image).
- Intermittent wiring diagram key and
installation instructions.
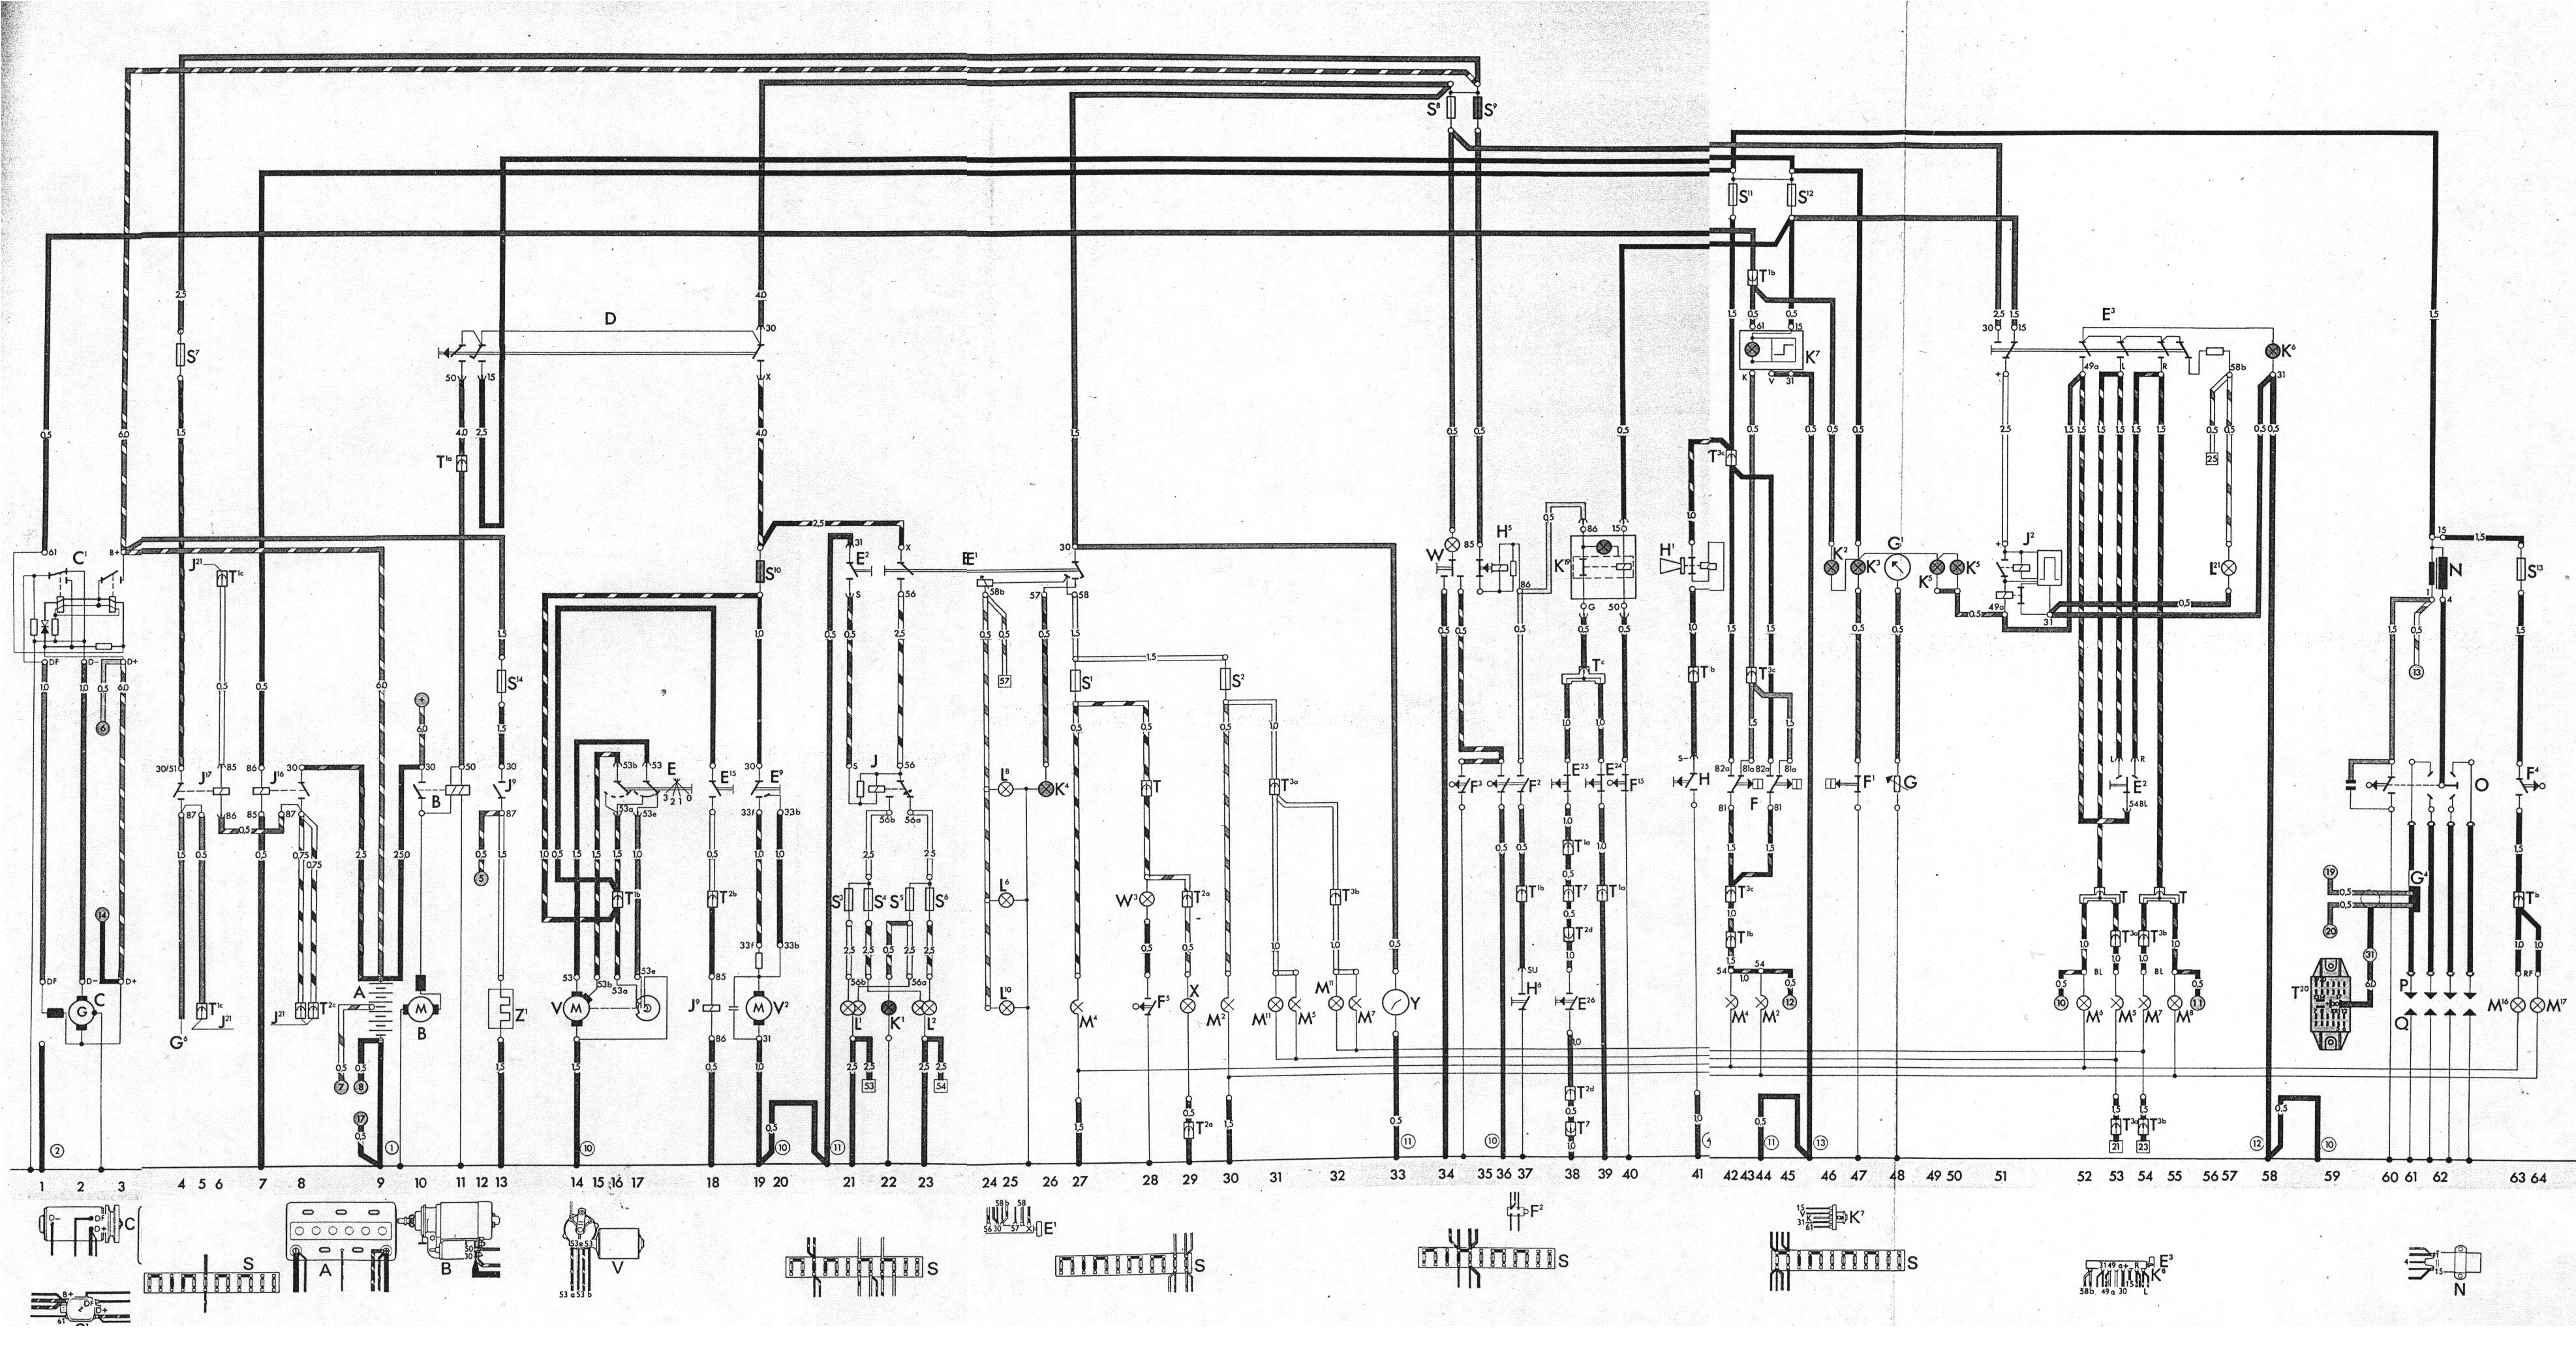
- USA 1973 wiring diagram (1.4Mb image!).
- Wiring diagram key for 1973 wiring
diagram.
PerL
73 Variant L (w/ intermittent wipers)