 Last additions - Goldwing turn signal lube Last additions - Goldwing turn signal lube |
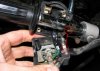
469 viewsWhen attaching the switch housing make sure to line up the housing pin to the hole in the handle bar.Jan 17, 2011
|
|
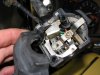
498 viewsThe complete assembly and all lubed up.Jan 17, 2011
|
|
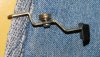
484 viewsIn case you drop the parts, here's how the bits go together. The washer goes on the screw and then the screw goes into the lever and the bushing. The flat side of the bushing faces the thumb pad.Jan 17, 2011
|
|
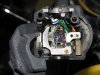
443 viewsThe retaining plate on top of the sliding switch assembly.Jan 17, 2011
|
|
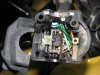
Turn signal switch500 viewsAll apart. Use white lithium on the left part of the switch, where the ball bearing rubs against the left wall. Use dielectric grease everywhere else.Jan 17, 2011
|
|
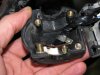
455 viewsHere's the high/low beam switch all buttoned up.Jan 17, 2011
|
|
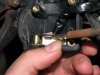
436 viewsWhen putting the female part of the switch onto the male part, make sure the sliding contact doesn't catch on the electrical pads on the female piece. Use a scribe or small, flat screwdriver blade to hold it down as you slide the female part on.Jan 17, 2011
|
|
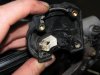
High/low beam switch465 viewsThe male part of the sliding switch for the high/low beam switch.Jan 17, 2011
|
|
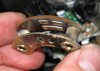
462 viewsThe female part of the sliding switch for the high/low beam switch. The long pad is the common power and the right pad is low beam, the left pad is high beam (as pictured here).Jan 17, 2011
|
|
|
|
|
|
|



