 Last additions - Zoom-zoom Last additions - Zoom-zoom |
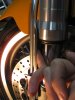
422 viewsFollowing the supplied instructions, using a finger to hold the protector in place and keep it spaced between the upper fork and, in the case of the monoposto, the fender. Tighten the bolts.Feb 19, 2011
|
|

439 viewsRemove the two bolts that hold the fender bracket, using a 4mm Allen wrench.Feb 19, 2011
|
|
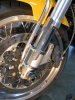
410 viewsPut the guard in position, put a drop of blue Lok-tite on the bolts, and tighten them up to the point of barely touching the protector.Feb 19, 2011
|
|
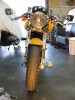
405 viewsHere's my bike, before installing the fork protectors.Feb 19, 2011
|
|
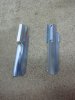
503 viewsHere's what they look like. A simple and effective design. Here's where you can get 'em:
http://www.bhpbikeparts.co.uk/content/products/Feb 19, 2011
|
|
738 viewsThe nice thing with the titanium "colored" Oberon is that its coloration is close to that of the stock unit and thus doesn't stand out.Jan 30, 2011
|
|
764 viewsInstalled, bled, and ready for use!Jan 30, 2011
|
|
765 viewsUse an 8mm open-ended wrench to crack open the bleeder nipple when bleeding the clutch slave. I used clear tubing, bungeed to the kick-stand, and let it drain into a glass container. I bled my system until fresh fluid appeared. Remember to keep an eye on the reservoir! Oh yeah, you no longer need the plastic wrap cover. When done, make sure the reservoir is about 3/4 full, then insert the rubber boot and secure the cap.Jan 30, 2011
|
|
746 viewsOnce the clutch slave is bolted down (10 ft-lbs) pre-fill with DOT-4 brake fluid. I used a syringe and found 6cc to be enough to reach the bottom of the threads. Next, remove the banjo fitting from the stock unit and put it on the new one, torquing it down to 23 ft-lbs.Jan 30, 2011
|
|
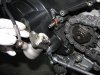
736 viewsThe stock clutch slave removed. Look at all that black crud! Give the area a good wipe down with a clean rag. Smear grease on the clutch push-rod if you wiped any off. I smeared white lithium grease on the mating surface of my Oberon, mimicking the stock application.Jan 30, 2011
|
|
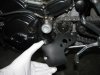
739 viewsRemove the sprocket cover, only two bolts attach it to the frame. All of the Allen head bolts being removed use the 5mm size. Next, use a 12mm wrench to break the banjo fitting free, then gently tighten it back a little bit to keep it from leaking. This will make it easier to remove it once the stock clutch slave is off the bike.Jan 30, 2011
|
|
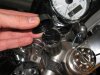
782 viewsPut a sheet of plastic wrap, like Saran-wrap, over the rubber plug...Jan 30, 2011
|
|
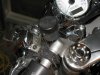
667 views...and screw the cap back on. This will help keep the DOT-4 fluid from flowing out when you remove the banjo fitting from the stock unit.Jan 30, 2011
|
|
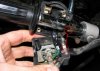
469 viewsWhen attaching the switch housing make sure to line up the housing pin to the hole in the handle bar.Jan 17, 2011
|
|
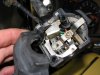
496 viewsThe complete assembly and all lubed up.Jan 17, 2011
|
|
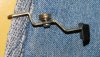
482 viewsIn case you drop the parts, here's how the bits go together. The washer goes on the screw and then the screw goes into the lever and the bushing. The flat side of the bushing faces the thumb pad.Jan 17, 2011
|
|
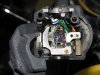
441 viewsThe retaining plate on top of the sliding switch assembly.Jan 17, 2011
|
|
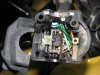
Turn signal switch498 viewsAll apart. Use white lithium on the left part of the switch, where the ball bearing rubs against the left wall. Use dielectric grease everywhere else.Jan 17, 2011
|
|
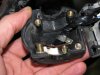
454 viewsHere's the high/low beam switch all buttoned up.Jan 17, 2011
|
|
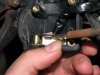
436 viewsWhen putting the female part of the switch onto the male part, make sure the sliding contact doesn't catch on the electrical pads on the female piece. Use a scribe or small, flat screwdriver blade to hold it down as you slide the female part on.Jan 17, 2011
|
|
| 1529 files on 77 page(s) |
 |
22 | |
|





