 Most viewed - Passat HID install Most viewed - Passat HID install |
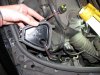
500 viewsCable passed through hole, ready for the gasket.
|
|
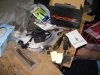
490 viewsXentec - The kit I used. Also, remove the DRL (Daytime Running Lights) relay, #173. It's located where the fuses are but a little deeper behind the dashboard -- it easily pulls straight out. Yes, you'll have to manually turn on your lights when you drive now. You can drive with the relay intact and the lights will come one (well, ours did), but the HIDs are getting a reduced voltage and may not turn on, they could even turn off while driving due to the reduced voltage feeding them. By removing the relay you insure that they get full voltage when you turn on the headlights.
|
|
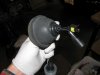
484 viewsSeat the wiring gasket as so...pretty dang obvious. How it should look.
|
|
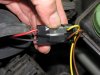
458 viewsThe plug wouldn't lock into the stock connector so I used a supplied zip-tie to bind it and electrical tape to keep it together. Notice that the RED wire mates with the YELLOW (+12 volts) bulb connector wire and the BLACK wire mates with the BROWN (ground) bulb connector wire.
|
|
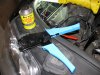
The install457 viewsLiquid electrical tape used to fill in and insulate crimps. High-quality ratcheting crimpers make the difference!
|
|
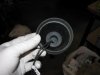
456 viewsThe interior.
|
|
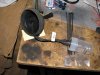
452 viewsFeed the harness through the rubber cup from the front side.
|
|
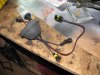
452 viewsAnother view of the completed assembly. Notice that the bulb is on the inside of the rubber boot and that the bulb is still in the container. You don't want to expose the bulb until you absolutely have to, it must stay clean! You can use rubbing alcohol to wipe the bulb down if it gets dirty or you touch it -- oil from your skin is bad for the bulb!
|
|
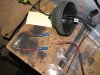
451 viewsFor the particular bulbs that came in this kit (an early version), I had to cut the wires and then feed them through the gasket. I used butt connectors and high-quality crimpers (expensive) to secure the wires.
|
|
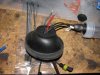
445 viewsHere's the rubber boot turned inside-out to get a better view of the inside of the gasket and the wires running through it.
|
|
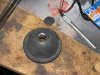
444 viewsTo hold the cover up while cutting, I used a 1/2" socket underneath. Use a very sharp Xacto blade and cut s-l-o-w-l-y and carefully.
|
|
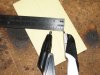
440 viewsTo make a nice 7/8" circle use a compass and set it to 7/16" (about 11mm).
|
|
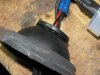
436 viewsWith the rubber cover turned inside-out, lift up the gasket and apply a continuous bead of silicone sealant a.k.a. RTV. This will insure a water-tight seal. Return the boot to its original state.
|
|
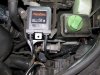
436 viewsLocation where I placed the left side electronics. Attached by using the supplied double-sided tape (strong stuff!).
|
|
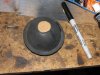
Through the rubber cover435 viewsThe following is the method I used on the left side after trying the right side by using the hard cover (described after this procedure). This is SO much easier to install and route wires, however, you MUST make sure you seal the gasket to the rubber boot so as to keep water out. I personally think this is the best way to do it with the kit I used.
I used a scrap piece of cardboard, cut in a 7/8" diameter circle, and traced the back side of the low beam rubber cover using a permanent marker.
|
|
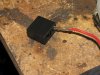
434 viewsMy kit came with holders that the wires clip into -- notice the orientation of the tang, it faces inside so it will lock in place.
|
|
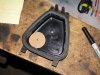
Through the hard cover433 viewsJust an FYI: I do NOT recommend this method! PITA if you have any issues. Go through the rubber cover.
Make a template that is 7/8" in diameter and trace with a permanent marker. Or put a nail or screw into the center of the circle and tap it so it leaves a dimple -- that's where you will drill. I used this location because it gave me the most slack in the wiring. The shop that does this recommended not putting the gasket in the center of the hard cover because there wouldn't be enough wiring slack.
|
|
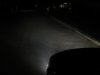
430 viewsBefore - Low beams and fogs, standing next to the B-pillar and looking forward.
|
|
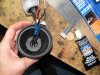
430 viewsViewing inside after applying the RTV.
|
|
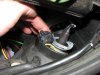
429 viewsWhatever plug you may have, simply push the connectors into the gap on the inward side of the light housing as this has a good gap to hold it out of the way.
|
|
|
|




