 Most viewed - Zoom-zoom Most viewed - Zoom-zoom |
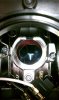
637 viewsLooking down into the bulb housing cavity. The reflector will need to be moved forward just a tad, like a couple millimeters, to clear the taller HID bulb. If you get flickering or the bulb doesn't light up after installing the HID bulb then chances are good that the bulb is touching the reflector and shorting out.
|
|
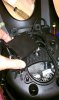
636 viewsThis is how you begin to stuff the electronics into the headlight bucket. Follow along...
|
|
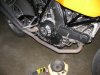
635 viewsPut some blue Loctite on the bolt threads and snug the new cover back on. No need to be a gorilla and wrench down! The blue Loctite will insure the bolts don't back out. Here it is, installed.
|
|
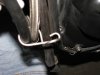
634 viewsHere's both oil lines in the bracket.
|
|
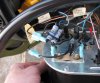
633 viewsAll connected. Use the Bentley wiring diagram to assist but this is basically how it's wired. Remember, you're simply replacing the vibrator with the VR and using a resistor pack in-line with the fuel gauge sender to bring the voltage down to a reasonable level.
+12V (black wire from gauge cluster) -> VR -> gauge -> resistor pack -> tank sender (brown w/black stripe wire)
|
|
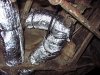
632 viewsI put a scrap piece of insulation (that I removed from the corner) under the split-loom to fully cover the duct.
|
|
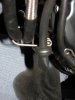
631 viewsBreather line re-installed and bracket re-mounted with both oil lines now inside. Now connect the line to the top of the oil cooler and tighten the bottom connection. The connections are snugged to 24 ft-lbs -- that's not very tight so go easy! Again, use both 19mm wrenches to tighten things. Also, smear engine oil on the O-rings before slipping them into the connector. Make sure the insertion is straight and smooth as you do NOT want to tear or pinch them!
|
|
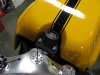
630 viewsI used a scrap piece of the 3M film to make a surround for the body work around ignition cylinder.
|
|
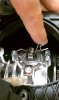
629 viewsPush the retaining clip down and then to the top of the light housing, then pivot it up and out of the way to the left side of the light housing.
|
|
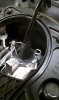
624 viewsHow the HID bulb looks when installed. It can only go in one way so it's pretty easy. Don't do it now as we need to get the electronics installed first!
|
|
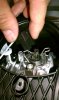
623 viewsThe bulb connector pulls straight off. Notice that it is one unit. The high-beam bulb has one connector on the bulb and a separate one on the bulb holder. The high-beam bulb is also smaller. Thus it's easy to determine which bulb is which. However, to give yourself some additional maneuvering room, you may want to disconnect the high-beam connectors and remove the high-beam bulb as well.
|
|
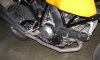
622 viewsHere's my 2006 Ducati Sport Classic 1000, monoposto (single seat), with the stock dry clutch cover.
|
|
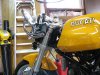
Before...622 views
|
|
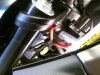
622 viewsFirst, remove the two acorn nuts from the bottom of the headlight fairing. The order is nut, washer, fairing mount, then star-washer. Strada owners should remove the windscreen for easier access to everything. Next, snip the zip-tie on the left side that holds the two cables that feed the headlight. The cable holder is on the frame head. The two headlight cables are below it and towards the center rear of the frame head. That yellowish connector you see below the snips is one of them.
|
|
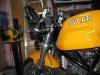
...after.621 views
|
|
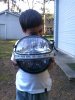
Front view, half and half621 viewsMy little helper showing the bottom tinted and the top untinted.
|
|
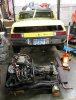
620 viewsOut and resting on wood blocks.
Minimum engine/tranny dimensions for space needed are:
Width = 43"
Height = 21"
Length = 25" for engine
= 48" for engine and tranny
= 55" for engine, tranny and muffler
|
|
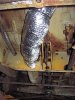
620 viewsUnder the pedal area. The section behind it isn't insulated yet...
|
|
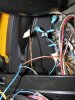
616 viewsWhat it looks like under the dash when put back together. The resistors aren't touching anything and there's no tension on them.
|
|
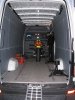
614 viewsTodd in the Motocorsa van getting ready to unload 992cc of joy!
|
|
| 1529 files on 77 page(s) |
 |
14 | |
|





