 Most viewed - Zoom-zoom Most viewed - Zoom-zoom |
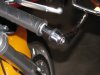
565 viewsTo remove, simply loosen the bolt a few turns and pull the whole assembly out.
|
|
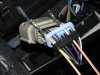
565 viewsFeed your pigtail wires in, white with yellow stripe on the left in the #16 hole and the white with orange stripe on the right in the #11 hole. The numbers are on the outside of the black plug.
|
|
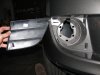
564 viewsStock fascia blank removed, right side. There are four hooks (one at each corner) that hold it in. After trying to be careful removing the right side, I said to hell with it and cut the tabs on the left side and threw away the blanks.
|
|
564 viewsAfter, low-beam.
|
|
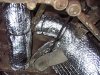
561 viewsThis next sequence shows how I insulated the loop that feeds the main cabin (as opposed to the section that feeds the driver's cabin). Put an 18" rectangle of the insulation above the duct, cut a slit, and wrap the duct that feeds the cabin. Thus, I worked backwards, insulating the right arm of the Y-duct last (if laying on your back and looking up).
|
|
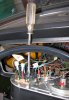
561 viewsI used a 7/16" socket -- none of my standard metric sockets fit! -- to carefully snug down the VR. I used the stock sheet metal screw from the original vibrator to secure the VR down. I also put a stainless steel split washer under the head of the screw to help lock the screw in place. Just in case...
|
|
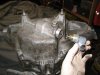
560 viewsRemoving the speedo sender from the damaged tail cover.
|
|
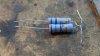
560 views(continued) The resistors came as a two-pack and were $1.25 each ($3.50 total for 4 resistors).
My "resistor pack". I wrapped the wires together so they will be in series...
|
|
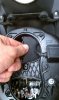
560 viewsRotating ballast clockwise to get it in there. The single electrical connector, or plug, goes down the right side of the headlight housing and then towards the high-beam bulb holder.
|
|
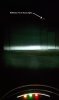
559 viewsAfter, low-beam.
|
|
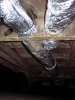
558 viewsThis is a view -- looking to the front of the Bus -- of the dreaded "Y" section where the heat exchanger ducts merge to the center tunnel duct.
|
|
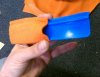
558 viewsTo reduce scratches from the squeegee, wrap it in a semi-thick cloth. This is mine from a previous film application and is what I used after I noticed small scratches appearing on the film when I first started using the supplied one.
|
|
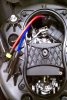
558 viewsThis is how it should look when done. The hard part of this install has been completed!
|
|
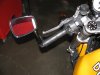
557 views
|
|

556 viewsDrive train balanced on the floor jack and on its way out.
|
|

556 viewsTwo terminal connector comes apart just like the three terminal connector.
|
|
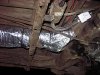
555 viewsView of the Y-section taken from the left side.
|
|
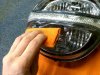
555 viewsThe improved squeegee in action, applying the bottom tint first.
|
|
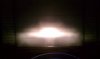
555 viewsBefore, high-beam.
|
|

Side view, both lights covered554 viewsTop and bottom lights covered in lightest tint, LED not covered.
|
|
| 1529 files on 77 page(s) |
 |
18 | |
|





