 Most viewed - Zoom-zoom Most viewed - Zoom-zoom |
545 viewsBefore, low-beam.
|
|
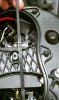
545 viewsIt may not be necessary but I wanted to make sure my ballast wouldn't move around so this is what I did. I cut a notch at the top and bottom of the hourglass brace that the zip-tie would neatly fit in to. This will keep the zip-tie from slipping and thus keep a firm hold on the ballast. A sharp X-acto knife will easily cut through the plastic so operate slowly and carefully.
|
|
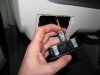
544 viewsNew light switch plugged in. See the red tab? It's in the 'unlocked' position...
|
|
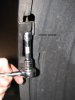
Mounting the LED array.544 viewsRemove the bolt that holds the bumper skin to the upper quarter panel (left side shown). It is above the two wheel well screws.
|
|
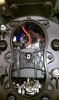
544 viewsDone! I used a piece of wire sleeve tubing (that black ribbed bit) to protect the power wires from rubbing against the zip-tie and hourglass brace. Most likely it's not necessary but while I was in there...just in case....
|
|
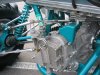
Cable shifter543 views
|
|
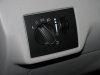
543 viewsStock, non-fog light switch.
|
|

Day-time, parking lamp only542 viewsComparison of the two bulbs. On the left is the standard incandescent and on the right is the LED unit.
|
|
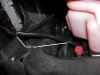
541 viewsWhere I zip-tied the left side of the harness. It comes down near the radiator over-flow container (the pink bottle). Don't use the aluminum object to the left, that's the heat-sink for the coils!
|
|
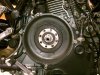
541 viewsEmpty clutch housing, ready for the new unit.
|
|
541 views
|
|
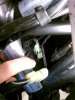
541 viewsPut the electrical connectors back together. They only go on one way so it's pretty much idiot-resistant. The 2-pin goes on first. Notice the positioning.
|
|
541 viewsAfter, high-beam.
|
|
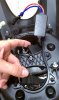
540 viewsThis shows the plug and orientation of the ballast. That plug is where the power comes in once everything has been installed. Notice the ignitor is outside of the headlight housing.
|
|
539 views
|
|
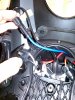
539 viewsThe red wire for the HID bulb is pushed into the top of the headlight bucket. The blue wire that I'm holding will be next.
|
|
538 views
|
|
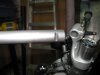
538 viewsHi-riser is slipped on the fork tube and here is the bar in stock form.
|
|
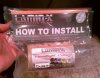
538 viewsHow the product comes packaged after you pull it out of the box. Very nice!
|
|
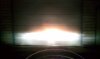
538 viewsAfter, high-beam.
|
|
| 1529 files on 77 page(s) |
 |
20 | |
|





