 Most viewed - Zoom-zoom Most viewed - Zoom-zoom |
469 views
|
|
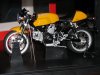
469 viewsLeft side. The front wheel stand and center body cradle can both be removed, as well as the gray twist-tie holding the bike down.
|
|

469 views
|
|
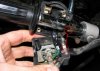
469 viewsWhen attaching the switch housing make sure to line up the housing pin to the hole in the handle bar.
|
|
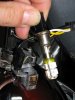
469 viewsHere's the LED replacement, ready for use.
|
|
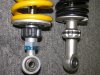
Detail 3469 viewsThe Ohlins shock (left) has an adjustable lower mount as seen by the blue locking nut and threads.
|
|
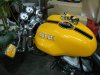
Mini Me468 viewsThe model on the actual.
|
|
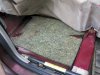
467 viewsRight rear foam padding.
|
|

467 viewsC'mon Daddy, let's go let's go!!!
|
|
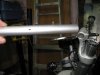
467 viewsOther side of the bar showing the locating pin and hole.
|
|
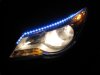
467 viewsLow beams on.
|
|
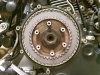
467 viewsClutch pack in!
|
|
466 views
|
|
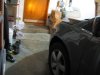
466 viewsNot great but you can see the amber of the LED turn signal as I'm standing by the rear edge of the door, about 1' away.
|
|
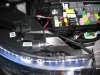
466 viewsJust testing the left DRL LED array directly to the relay box. Used the camera flash to 'dim' the LEDs so they wouldn't wash out the picture. They are so bright that it can be seen that they are on.
|
|
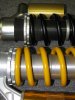
Detail 2466 viewsThe Ohlins shock has more threads for more adjust-ability, likely for the range of springs it can accommodate.
|
|
465 views
|
|
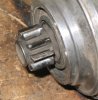
465 viewsWear on original starter. Plus it wouldn't start when it got hot (heat soaked) and even when cold it cranked a bit slowly.
|
|
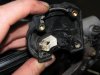
High/low beam switch465 viewsThe male part of the sliding switch for the high/low beam switch.
|
|
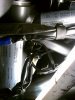
465 viewsAdd a new zip-tie to secure the headlight cables snugly, NOT TIGHTLY. Now the headlight can be mounted to the two lower anti-vibration mounts and the acorn nuts snugged. Done!
|
|
| 1529 files on 77 page(s) |
 |
32 | |
|





