 Most viewed - Zoom-zoom Most viewed - Zoom-zoom |
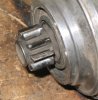
465 viewsWear on original starter. Plus it wouldn't start when it got hot (heat soaked) and even when cold it cranked a bit slowly.
|
|
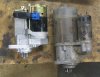
464 viewsComparison of the high-torque HPA starter on the left vs. the stock unit on the right.
|
|
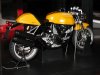
464 viewsThe rear suspension is twist-tied to the exhaust. Delicate procedure to remove it. I didn't see its purpose. The rear stand is 100% functional.
|
|

463 viewsYes, the Scooby-Doo bobble head came with the camper :-)
|
|

463 views
|
|
463 viewsThere's a indentation in the seat pan that my tape measure consistently fit nicely in.
|
|
462 views
|
|
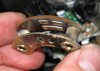
462 viewsThe female part of the sliding switch for the high/low beam switch. The long pad is the common power and the right pad is low beam, the left pad is high beam (as pictured here).
|
|
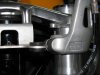
462 viewsThis shows the stock locating pin on the hi-riser. Because the banjo fittings on the hand controls interfered with the gauge cluster I couldn't use the stock positions -- bummer! So I removed the locating pins and rotated the clip-ons backward a couple millimeters. My clip-ons are butted up against the upper triple. I also had to adjust my left steering stop so my horn button wouldn't press against the tank so my left turning radius is slightly less than my right.
|
|
462 viewsPlastic pin used to hold the front fascia. Pry the head up...
|
|
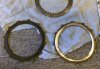
462 viewsThese are the inner-most plates. Only slightly less wear than the fronts.
|
|
461 views
|
|
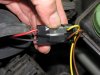
461 viewsThe plug wouldn't lock into the stock connector so I used a supplied zip-tie to bind it and electrical tape to keep it together. Notice that the RED wire mates with the YELLOW (+12 volts) bulb connector wire and the BLACK wire mates with the BROWN (ground) bulb connector wire.
|
|
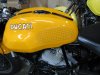
461 viewsHere's the StompGrip on the tank. The adhesive backing is 3M and it is sticky! So get everything lined up, triple checked, then peel the backing off. Place the StompGrip inbetween the marks and get it right the first time because the stuff is STICKY!
|
|
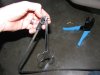
461 viewsSlipping the boot past the end of the wire can be a little tricky so hemostats are helpful in pulling. Remember to use some WD-40 to help lubricate the wire. The blue crimpers have an MSD die in them for crimping the connectors to the wires.
|
|
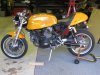
461 viewsStock sprocket cover.
|
|
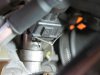
461 viewsOnce the bale is pulled out then the connector can be removed. As you can see, removing the bale doesn't need to be pretty to be effective.
|
|
Look at how small they are!460 views
|
|
460 views
|
|
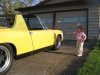
460 views"Daddy's Per-sha! Vroom! Vroom!" Bella is 34" in this picture (and petit by toddler standards).
|
|
| 1529 files on 77 page(s) |
 |
33 | |
|





