 Most viewed - Zoom-zoom Most viewed - Zoom-zoom |
446 views
|
|
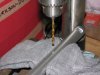
446 viewsIt seems that the locating pin on the '06 throttle clamp is 180-degrees off compared to later models. The fix was simple: Use a 5/32" drill bit and drill straight through the existing hole. Easy-peasy!
|
|

445 viewsMy girls taking it easy whilst I go drooling...
|
|

445 views
|
|

445 views
|
|
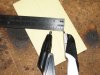
445 viewsTo make a nice 7/8" circle use a compass and set it to 7/16" (about 11mm).
|
|
444 views
|
|
444 viewsAlteration B.
|
|
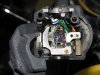
444 viewsThe retaining plate on top of the sliding switch assembly.
|
|
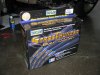
444 viewsWhat was available given the meager selection at the FLAPS which caters to the V8 and truck crowd. 500-ohms per foot is dang good when compared to what Accel wires had and the stock Ducati ones!
|
|
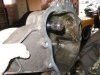
443 viewsWhen I carefully removed the broken cover this is what the inside looked like.
|
|
443 views
|
|
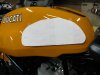
443 viewsCut the paper so you have a pattern. Tape it back to the tank, using the marks you placed earlier to property align it. Rub out the marks and put new ones down about 1/4" out. This will help when applying the StompGrip.
|
|
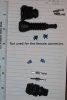
443 viewsThe connectors used to make a single pig-tail extension. These are known as AMP Junior Power Timer connectors (.250" or 250 connectors).
|
|
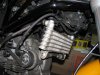
442 viewsI installed the new wire on the same path as the stock wire, just moved the zip-tie a little closer to the right so the wire wouldn't rub on the oil line fitting. I tried to position the wires from rubbing against any parts.
|
|

441 viewsMondial hardtop.
|
|

441 views'73 Dino GT 246 GTS interior.
|
|
441 views
|
|

441 views
|
|

441 views
|
|
| 1529 files on 77 page(s) |
 |
37 | |
|





