 Most viewed - Zoom-zoom Most viewed - Zoom-zoom |
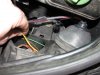
428 viewsGently pull on the brown and yellow wires to help keep the connector in its place when putting the rubber boot back on.
|
|

427 viewsBone stock, 2.0L, Type IV, L-Jetronic fuel injected engine. Strong engine and has more power than people think. I'm always passing people!
|
|
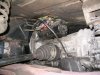
426 viewsCV bolts removed. Reference photograph for wiring...but really, it ain't that complex under here.
|
|
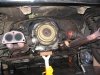
426 views...and here's what the underside of the car looks like sans transaxle :-)
|
|
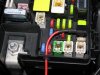
426 viewsFeed the power feed wire through the grommet and crimp on the connector. It should be snug in order to keep moisture and dust out.
|
|
425 viewsPretty.
|
|
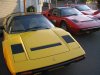
424 viewsPair of Ferrari 308.
|
|
424 views
|
|
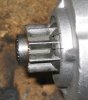
424 viewsArrows show wear on new HPA starter. Was making an odd, metalic buzzing sound during start testing after install. Removed and saw that the starter was engaging too far and thus rubbing against the flywheel.
|
|
Before and after - street view424 viewsBefore - Low beams, standing next to the B-pillar and looking forward.
|
|
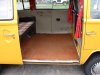
424 viewsThe floor. Slider door edge trim removed, folding table removed, forward carpet trim screws removed, and the cut made along the forward edge of the rear seat.
|
|
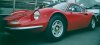
423 viewsDino 246.
|
|
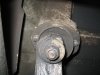
423 viewsLooking up at the transmission mount. Boy, looks like I'm gonna have to break out the Simple Green and scrub brush!
|
|
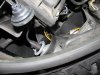
Right side423 viewsThis is the side I started on and passed the harness through the hard cover as recommended by a shop that does the procedure. What a MAJOR pain in the butt! Ideally, it would be best to REMOVE the airbox in order to get enough space to maneuver around; a much bigger task than I cared to do after 3 hours of work involved already! I have long thin fingers and trying to get the bulb in the socket, as well as the gasket into the hard cover, was quite difficult. Anyone with thicker and/or shorter fingers would likely have an even more difficult time as the space is just too cramped around that area.
|
|
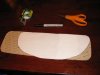
423 viewsPut the pattern on the back side of the StompGrip and trace the outline with a permanent pen. Then simply cut it with scissors. Following the instructions that come with the kit, make sure you have round corners.
|
|
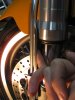
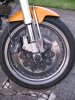
423 viewsFollowing the supplied instructions, using a finger to hold the protector in place and keep it spaced between the upper fork and, in the case of the monoposto, the fender. Tighten the bolts.
|
|
423 views
|
|
Close-up423 viewsStock cover.
|
|
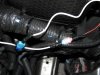
422 viewsJust a close-up of the power feed from the relay box tapped into the main power feed line that goes between the DRL LED array. The connector that's connecting white wire to red wire is what's feeding the DRL LED array.
|
|

421 viewsViewing into the camper from the rear hatch.
|
|
| 1529 files on 77 page(s) |
 |
41 | |
|





