Removing the door panel by Toby Erkson
Removing the door panels is a simple task but too many people are intimidated by it, particularly when it comes to removing the manual window crank and door release handle. A shop manual, like the Bentley or Haynes, are essential shop tools every mechanic should purchase before they buy any other tool! This document is meant to be a visual supplemental to either of the shop manuals. I highly recommend the Haynes manual for direction when it comes to interior work because it has more pictures and better instructions. Anyway, let's begin!
For this document the left rear door was used for illustration. This can be used with the other doors but follow your shop manual for further directions on removing the front panels as you need to remove the side-view mirror trim.
This is the door we will be working on:
<<put image of plain door panel here>>
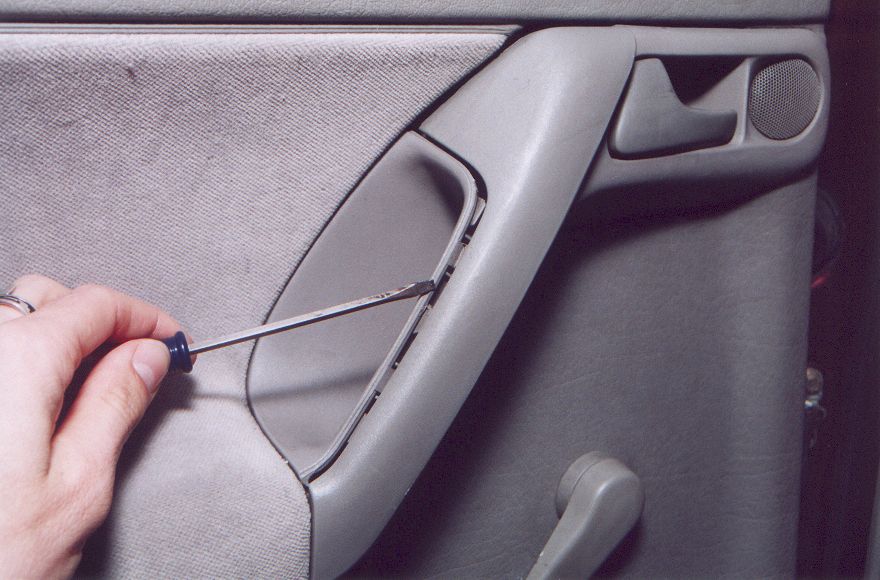
Remove the door handle trim by carefully prying it away. Inside will be two large screws that hold the panel to the door; remove them with a #2 Phillips screwdriver:
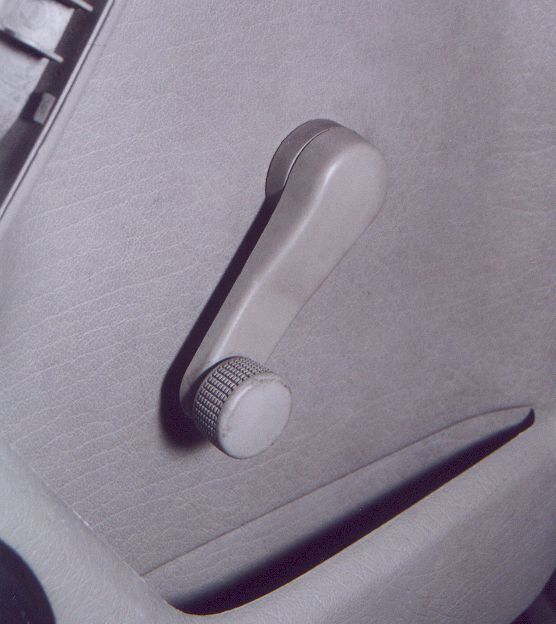
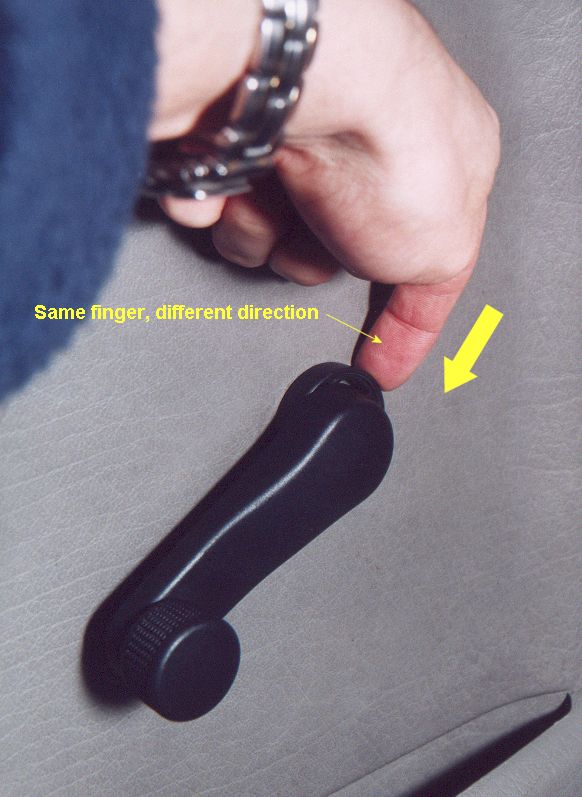
Removing the window crank is very, very easy! Here's what it looks like...pretty innocent, right?
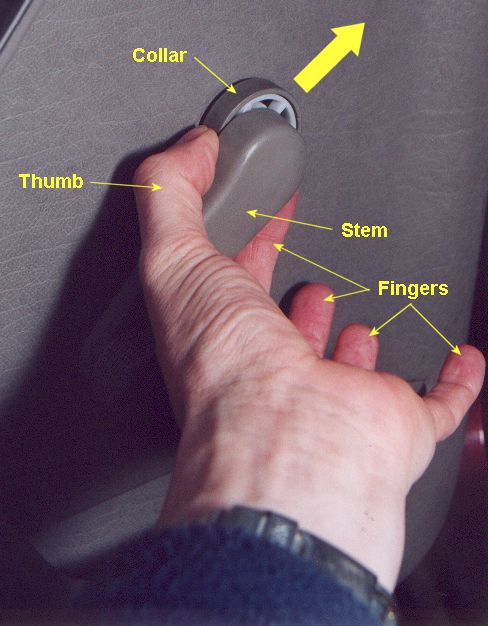
Just reach behind the stem of the handle and push the collar (circular trim piece) about 1/4" away:
Now simply pull the crank away from the door panel! This is what it looks like after you pull it off:
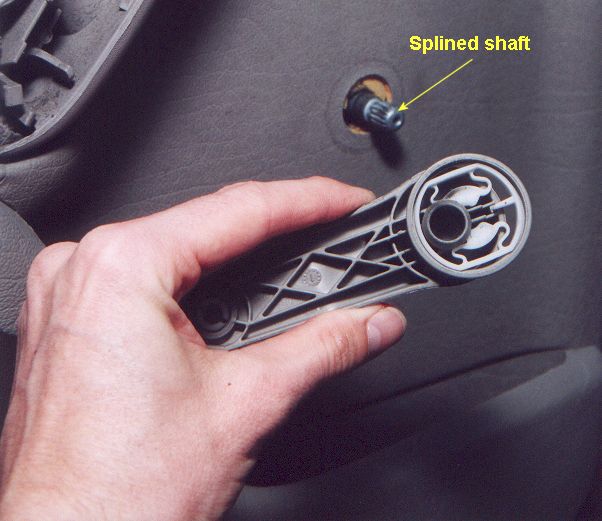
While we're on the subject of the crank, let's put a better looking one on just for grins. Take the crank and place it on the exposed splined shaft and push the circular collar back in the direction of the crank stem, as so:
Okay, let's move on. If you've put the window crank back on I suggest you take it off again  . Now comes the part of removing the panel. I remove the large speaker as it helps reduce the weight on the panel and makes maneuvering it more easy. Then I remove the door lock pull by first locking the door then unscrewing it. Having the pin in the locked (down) position makes it easier to remove the door panel as well. Remove the panel retainers that are around the panel with a 2.5mm Allen wrench. There are six on the rear doors and seven on the front -- well, at least on my Jetta. Be sure to unscrew them all the way out. They're all the same length so it's okay if you put them in one pile out of the way. Now the panel is ready to be removed.
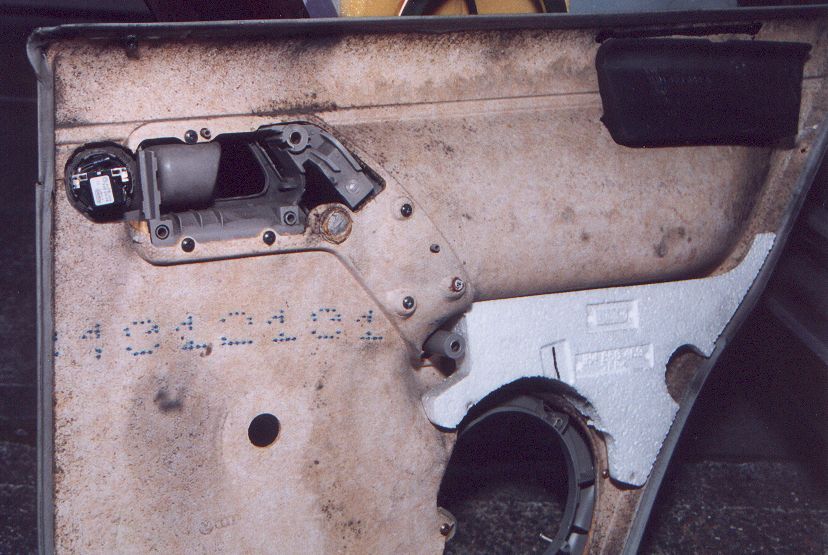
Pick a bottom corner and carefully pull on the panel to pop it loose from its retainers. Only release the sides and bottom of the panel but NOT THE TOP. Once the panel is released from its retainers pick the very end of the top of the panel where it's held in by the trim at the window. Very carefully pull the panel out, giving it a slight wiggle if necessary. If it looks like the panel may become damaged then move to the opposite end and try pulling there. The panel may be in the trim pretty good, especially if it's never been removed. But it will slide free and as soon as it does the rest of the panel will quickly follow. Now, once free (but not off the door yet!) we see that the door release handle is still captured by the panel. This is fine, simply 'open the door' by pulling on the handle then guiding the panel past it. Don't for get to unplug the small speaker. There, now the panel is free! Here is what the back of the panel looks like:
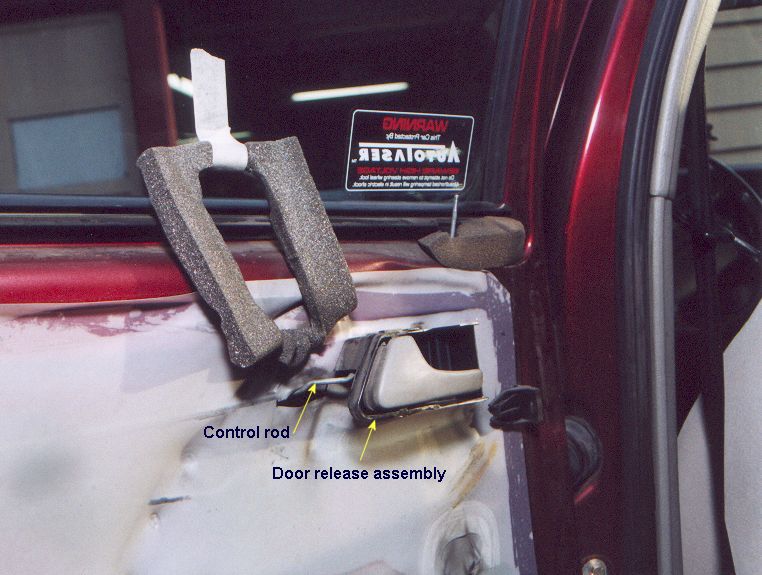
Here's what the door release handle with the control rod connected looks like, viewed from the rear of the door:
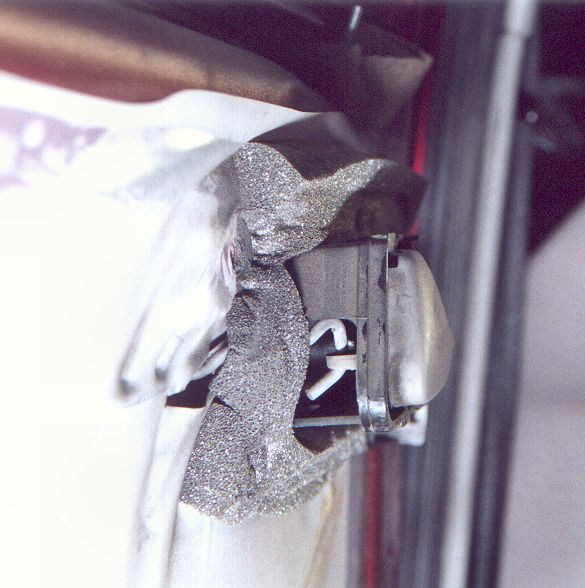
Take the foam surrounding the door release assembly and move it aside, exposing everything:
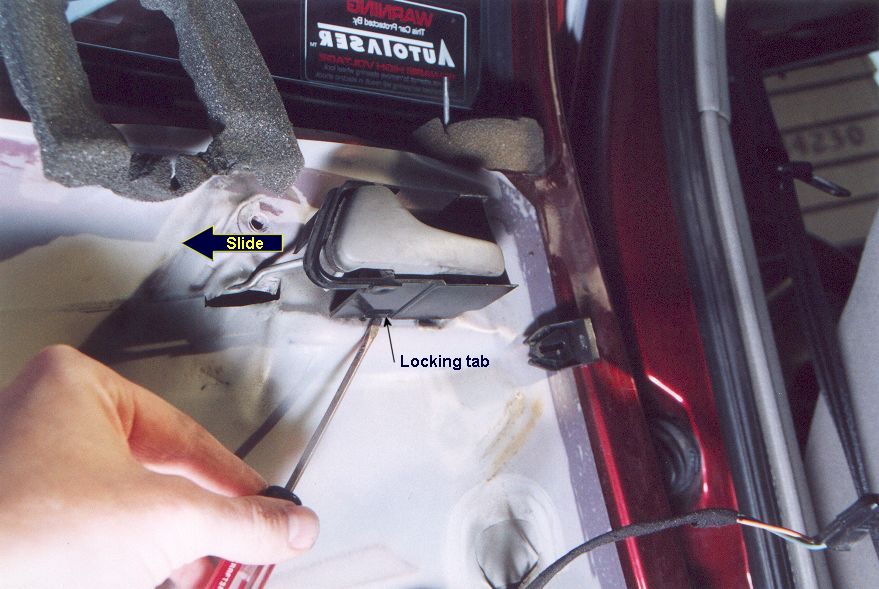
Put a small flat-head screwdriver under the assembly where the locking tab is located and pull the tab away from the door, then slide the assembly to the rear of the door, thus releasing it:
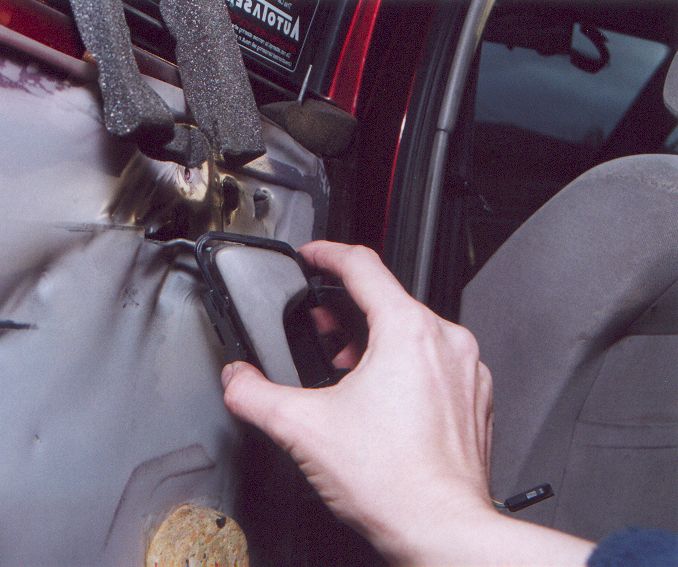
Pivot the assembly down and remove it from the control rod:
Connect the new assembly to the control rod in the reverse direction as the removal. This is what the back side of the assembly looks like:
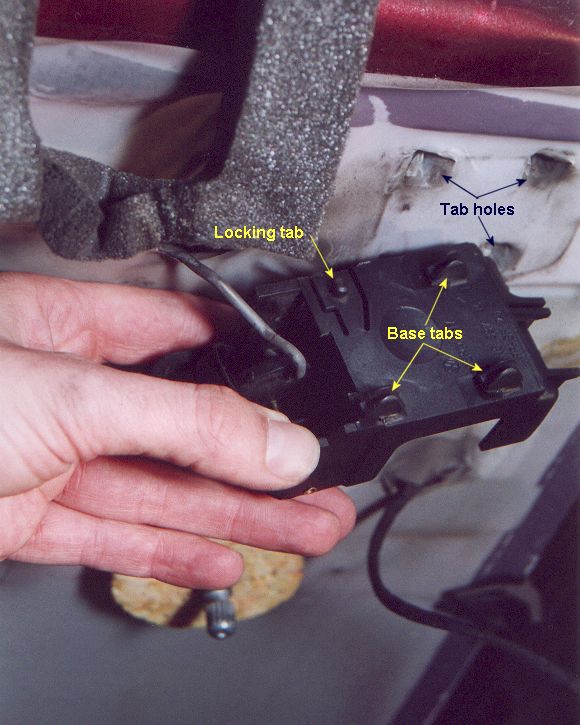
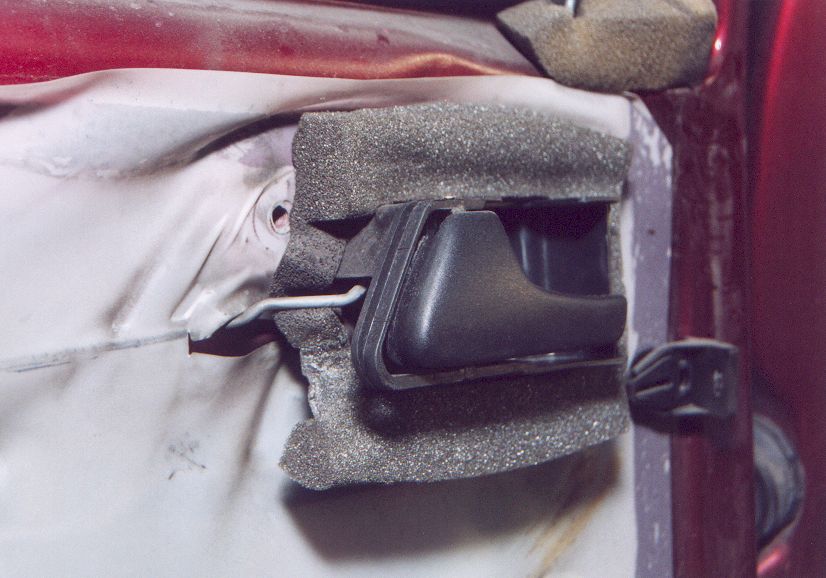
Put the assembly base tabs back into their holes and firmly push on the assembly as you slide it forward, making sure all three tabs lock back in to place. Test the handle to make sure it moves freely. Put the foam surround back around the assembly and admire the new handle:
Put the panel back on the door. Be sure to poke the new door release handle through the panel trim opening and install the panel. When tightening the panel retaining screws make sure they are snug and not over tighted! Enjoy the new look!!
<<put image of new panel here>>
End of Document