914 fuel sender pictorial
|
|
|
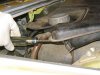
1058 viewsRemove the 10mm bolt from the rear, right side of the expansion tank. Note that in this picture the drain hose has been disconnected.
|
|
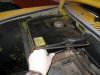
964 viewsRemove the other 10mm bolt from the left side of the expansion tank.
|
|
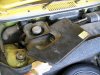
992 viewsRemove the gas expansion tank.
|
|
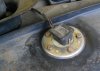
974 viewsThe fuel sender exposed.
|
|
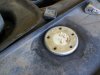
975 viewsThe plug removed from the sending unit.
|
|
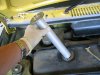
919 viewsSender assembly easily comes out of the tank.
|
|
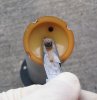
1058 views(This is a copy of the last picture but the disassembly is the opposite of the assembly :-) ) Unbend the tabs surrounding the retaining nut and remove the nut. Grab the top of the sender assembly and pull the tube away from the top. This will expose the float and wires.
|
|
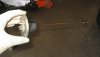
1083 viewsThe black float is at the top of the sender assembly.
|
|
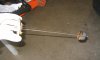
968 viewsThe float is at the bottom of the sender assembly.
|
|
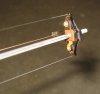
996 viewsThe bottom of the sender assembly.
|
|
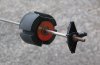
1062 viewsBottom view of the float.
|
|
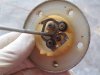
920 viewsThe underside of the top of the sender assembly. The corrosion here wasn't as bad as the photo depicts.
|
|
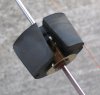
910 viewsClose-up of the float and how it holds on to the sending wire.
|
|
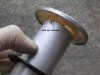
1021 viewsMake sure the notches line up when putting it back together.
|
|
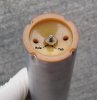
891 viewsThe tab fits into the hole at the bottom of the assembly tube.
|
|
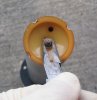
927 viewsSnug the nut down but don't over-tighten! Carefully bend the tabs back over the nut to keep it secure and from rotating. If that nut falls into the tank consider it gone and your outer tube will drop to the bottom of the tank and clunk around, possibly damaging the sender's wires!
|
|
|
|



