 Last additions - Ducati Last additions - Ducati |

470 viewsThe headlamp exposed. Pretty darn simple in there.Feb 23, 2011
|
|

504 viewsUse a Phillips screwdriver to remove the retaining screw at the bottom of the headlamp. No need to completely remove the screw, just until it becomes loose & wobbly.Feb 23, 2011
|
|

Fingernails help here.470 viewsPut your fingers between the headlamp bucket and the chrome headlamp ring and pull the bottom of the headlamp out. It only needs to travel a centimeter or two for it to be free. Unhook the top and carefully lay the headlamp on the fluffy towel you placed on the fender (that's a hint).Feb 23, 2011
|
|
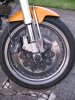
422 viewsFeb 19, 2011
|
|
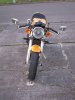
416 viewsFeb 19, 2011
|
|
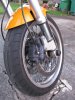
454 viewsRight side, back view.Feb 19, 2011
|
|
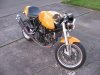
433 viewsDamn she's a fine looking ride! Protectors mounted.Feb 19, 2011
|
|
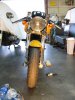
410 viewsThis shows my bike with one protector on. The left side of the picture (right side of bike) is no protector while the right side of the picture (left side of bike) has the fork protector mounted.Feb 19, 2011
|
|
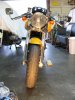
379 viewsBoth protectors mounted.Feb 19, 2011
|
|
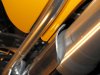
404 viewsShowing the gap between the protector and the monoposto fender.Feb 19, 2011
|
|
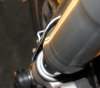
401 viewsShowing the gap between the protector and the upper fork. Since the wheel assembly moves up and down a gap is needed so the protector won't scrape against the fork.Feb 19, 2011
|
|
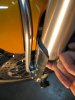
417 viewsFeb 19, 2011
|
|
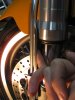
422 viewsFollowing the supplied instructions, using a finger to hold the protector in place and keep it spaced between the upper fork and, in the case of the monoposto, the fender. Tighten the bolts.Feb 19, 2011
|
|

439 viewsRemove the two bolts that hold the fender bracket, using a 4mm Allen wrench.Feb 19, 2011
|
|
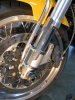
410 viewsPut the guard in position, put a drop of blue Lok-tite on the bolts, and tighten them up to the point of barely touching the protector.Feb 19, 2011
|
|
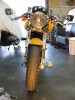
405 viewsHere's my bike, before installing the fork protectors.Feb 19, 2011
|
|
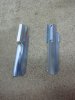
503 viewsHere's what they look like. A simple and effective design. Here's where you can get 'em:
http://www.bhpbikeparts.co.uk/content/products/Feb 19, 2011
|
|
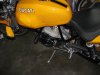
737 viewsThe nice thing with the titanium "colored" Oberon is that its coloration is close to that of the stock unit and thus doesn't stand out.Jan 30, 2011
|
|
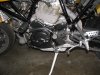
763 viewsInstalled, bled, and ready for use!Jan 30, 2011
|
|
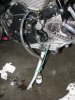
764 viewsUse an 8mm open-ended wrench to crack open the bleeder nipple when bleeding the clutch slave. I used clear tubing, bungeed to the kick-stand, and let it drain into a glass container. I bled my system until fresh fluid appeared. Remember to keep an eye on the reservoir! Oh yeah, you no longer need the plastic wrap cover. When done, make sure the reservoir is about 3/4 full, then insert the rubber boot and secure the cap.Jan 30, 2011
|
|
| 428 files on 22 page(s) |
 |
13 | |
|





