 Last additions - Ducati Last additions - Ducati |
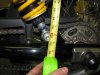
525 viewsI used the top of the hole in the bolt where the Allen wrench entered.Dec 27, 2012
|
|
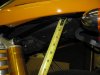
461 viewsThere's a indentation in the seat pan that my tape measure consistently fit nicely in.Dec 27, 2012
|
|
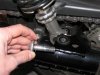
512 viewsLower bolt. Use a 10mm Allen wrench to remove the bolts. Though they already have molyb (grease B using Ducati nomenclature) smeared on them I (later) added a little bit more.Dec 27, 2012
|
|
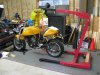
520 viewsI used my engine hoist to lift my bike by the frame. I'm so glad I have this! This was necessary to get the full extension sag measurement as well as lifting the bike to take pressure off the lower bolt so it could be removed.Dec 27, 2012
|
|
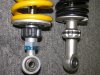
Detail 3466 viewsThe Ohlins shock (left) has an adjustable lower mount as seen by the blue locking nut and threads.Dec 27, 2012
|
|
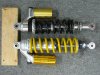
Detail 1478 viewsOEM Sachs on top (black spring) and Ohlins racing on the bottom (yellow spring).Dec 27, 2012
|
|
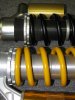
Detail 2465 viewsThe Ohlins shock has more threads for more adjust-ability, likely for the range of springs it can accommodate.Dec 27, 2012
|
|
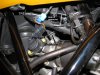
469 viewsLeft side of the engine showing the two connectors for the rear (vertical) cylinder injector. The YELLOW wires from the PCIII go here.Apr 28, 2012
|
|

497 viewsA quick video tour of the installed harness. For easier viewing please go to http://www.youtube.com/watch?v=h8ePhGSbxsoApr 28, 2012
|
|
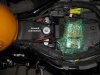
499 viewsThe PCIII protected inside some bubble-wrap and under the seat.Apr 28, 2012
|
|
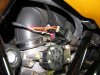
467 viewsRight side of the engine showing the two connectors for the front (horizontal) cylinder injector. The ORANGE wires from the PCIII go here.Apr 28, 2012
|
|
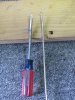
453 viewsI used the pick to pull back the OEM wire bale that holds the female connector to the injector. The small screwdriver is then used to keep the bale from snapping back while pulling the bale further out with the pick.Apr 28, 2012
|
|
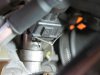
458 viewsOnce the bale is pulled out then the connector can be removed. As you can see, removing the bale doesn't need to be pretty to be effective.Apr 28, 2012
|
|
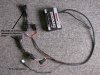
469 viewsThe PCIII-USB and the extensions completed, ready for installation!Apr 28, 2012
|
|
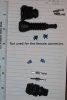
440 viewsThe connectors used to make a single pig-tail extension. These are known as AMP Junior Power Timer connectors (.250" or 250 connectors).Apr 28, 2012
|
|
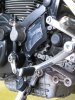
432 viewsPrettier.Feb 04, 2012
|
|
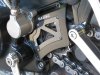
423 viewsPretty.Feb 04, 2012
|
|
Hmmm...413 viewsThere's about 2-3mm of clearance between the cover and the sprocket retaining nut.Feb 04, 2012
|
|
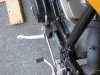
405 viewsLooking down on the new cover.Feb 04, 2012
|
|
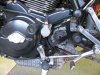
Close-up386 viewsDucabike with no insert.Feb 04, 2012
|
|
| 428 files on 22 page(s) |
 |
8 | |
|





