 Most viewed - Hi-rise clip-ons install Most viewed - Hi-rise clip-ons install |

...after.485 views
|
|
...after.472 views
|
|
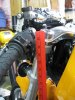
Before...469 viewsThe bottom of the switch housing is at 34".
|
|
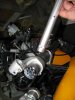
467 viewsRight side showing locating pin and hole.
|
|
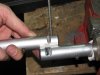
467 viewsThe top bar has the stock groove in it and the bottom one shows the extra material I had to remove, about 3/4 of the width of the original groove. Both bars required this modification. This allows the bar to be positioned "down" more so the reservoir clamps/brackets can fit on the bars. I used a hack saw to make the initial removal of material then used a rat-tail (round) file to further remove material and neaten the curves. Remember to remove just a little instead of too much! These are aluminum and it's very easy to work with.
|
|
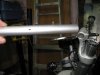
460 viewsOther side of the bar showing the locating pin and hole.
|
|
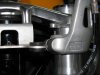
452 viewsThis shows the stock locating pin on the hi-riser. Because the banjo fittings on the hand controls interfered with the gauge cluster I couldn't use the stock positions -- bummer! So I removed the locating pins and rotated the clip-ons backward a couple millimeters. My clip-ons are butted up against the upper triple. I also had to adjust my left steering stop so my horn button wouldn't press against the tank so my left turning radius is slightly less than my right.
|
|
Before...450 views
|
|
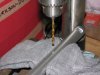
439 viewsIt seems that the locating pin on the '06 throttle clamp is 180-degrees off compared to later models. The fix was simple: Use a 5/32" drill bit and drill straight through the existing hole. Easy-peasy!
|
|
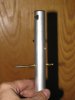
421 viewsThe end result of the drilling. Yes, the hole is perpendicular.
|
|
|
|
|
|




