Living room & Dining room remodel
|
|
|
352 viewsBefore: From inside garage looking into dining room. Double-pocket door opening. Trim and some original wallpaper removed.
|
|
334 viewsLooking into the dining room from the kitchen. Corner cabinets removed from pocket door wall.
|
|
355 viewsSame as previous. You can see the other pair of corner cabinets. Not too bad of an idea for providing cabinetry space with a small counter on top of the bottom cabinet.
|
|
349 viewsStanding in the south east corner of the living room looking towards the pocket doors and the dining room beyond.
|
|
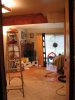
339 viewsDuring demolition: Pocket doors removed, sheet rock and wood removed. That big ol' header is next to come down!
|
|
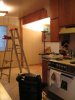
341 views
|
|
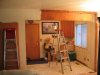
386 viewsWow! Really opens up the rooms :-)
|
|
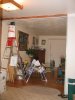
335 viewsDuring construction: Building side wall and capping dining/living room divider.
|
|
318 views
|
|
347 viewsBetter view of partial wall added.
|
|
399 viewsAntonette got in the mood to change more so the old blinds came down and new curtains went up. Trim removed and the entire room already painted!
|
|
367 viewsBefore crown moulding (baseboard trim & new windows installed).
|
|
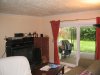
387 viewsAfter crown moulding (just installed & not patched/painted).
|
|
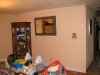
339 viewsPutting up more.
|
|
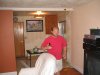
371 viewsOur contractor, Bret Chenoweth, doing a great job as always! Bret let me watch and help during the whole process which not only helped lower the over-all cost but I also learned how easy it is.
|
|
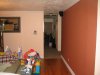
354 viewsAccent wall. This wall separates the kitchen and living room. The stove and refridgerator is on the other side.
|
|
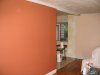
346 viewsHere you can see the crown moulding going up and also a peek into the dining room. This is also how we originally planned the opening to end up, however, after viewing some houses being built that had arched opening we decided to step it up and have Bret build us an archway. Boy are we ever glad we did that! It was worth the extra cost.
|
|
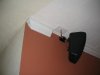
364 viewsDetail of how I mounted the surround speakers.
|
|
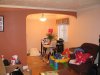
389 viewsAfter: Dining room painted and new vinyl flooring layed. New window treatment and light. Some time during the construction the original stove finally cooked its last meal so a new one replaced it so we got a glass-top with glass touch controls, convection oven, warming drawer...very nice unit!
|
|
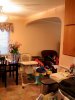
368 viewsLooking from the kitchen into the new dining area and archway into the living room.
|
|
|
|




