 Most viewed - Diavel low-beam HID Most viewed - Diavel low-beam HID |
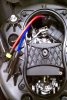
555 viewsThis is how it should look when done. The hard part of this install has been completed!
|
|
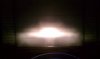
551 viewsBefore, high-beam.
|
|
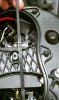
544 viewsIt may not be necessary but I wanted to make sure my ballast wouldn't move around so this is what I did. I cut a notch at the top and bottom of the hourglass brace that the zip-tie would neatly fit in to. This will keep the zip-tie from slipping and thus keep a firm hold on the ballast. A sharp X-acto knife will easily cut through the plastic so operate slowly and carefully.
|
|
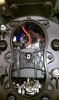
544 viewsDone! I used a piece of wire sleeve tubing (that black ribbed bit) to protect the power wires from rubbing against the zip-tie and hourglass brace. Most likely it's not necessary but while I was in there...just in case....
|
|
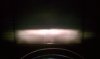
541 viewsBefore, low-beam.
|
|
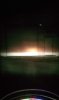
538 viewsAfter, high-beam.
|
|
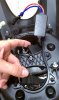
538 viewsThis shows the plug and orientation of the ballast. That plug is where the power comes in once everything has been installed. Notice the ignitor is outside of the headlight housing.
|
|
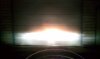
537 viewsAfter, high-beam.
|
|
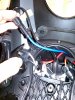
537 viewsThe red wire for the HID bulb is pushed into the top of the headlight bucket. The blue wire that I'm holding will be next.
|
|
531 viewsInstalled and ready to ride!
|
|
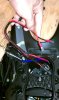
529 viewsConnect the wires to the power plug. Now all the ignitor and ballast wires are attached so you can push them further into and down inside the headlight bucket. Now you can loop in the other zip-tie to secure the ballast, cutting notches in the hourglass brace like I did if you want. If you removed the high-beam bulb you can now put it back in, along with its wires.
|
|
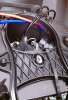
522 viewsFirst zip-tie installed. I waited on the second one so I could move the ballast a little while working on the electrical cabling. This just helps get the ballast out of the way and keeps it from moving around too much. You can now install the HID bulb and secure it.
|
|
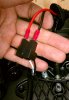
519 viewsPush in the power supply spade connectors into the headlight connector. As can be seen in the picture, I put the black wires together and the red wire with the white wire.
|
|
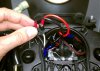
519 viewsPush the power supply wires into the original headlight bulb connector.
|
|
519 viewsFor safety I wrapped each connector in electrical tape and then wrapped them together as well.
|
|
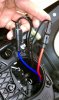
518 viewsConnect the ignitor wires to the bulb. One thing I did to make this wiring install easier is to remove the weather seal that holds the 4 wires. Since everything is contained within the headlight bucket there's no need for the wiring seal. Carefully use a sharp blade, like a crescent X-acto blade, to cut the seal and remove the wiring.
|
|
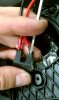
513 viewsThe spade connectors snap in. If they are difficult to get out (at a later date, say, when replacing the bulb) you may want to use a thin, flat-bladed screwdriver to push the spade away from the female contact as shown.
|
|
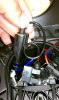
501 viewsTo make it a little easier getting both of the HID wires into the small space I put a single loop in the wire, as shown. Then stuff it in there with the red wire.
|
|
|
|
|
|




