 Most viewed Most viewed |
708 views
|
|
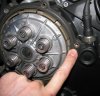
707 viewsThere are spacers in the gasket and they may come out with the bolt. No big deal, simply pull the spacer off the bolt and put it back into the gasket.
|
|
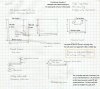
705 viewsThis has everything needed for anyone wanting to do this provided they have experience welding, cutting and tapping metal. I've tried to be exact but I would highly recommend that the brackets be made with the particular car present to allow for test fittings.
|
|
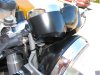
701 viewsThe gauges ever so slightly touch the headlight bucket.
|
|
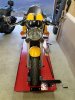
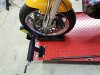
700 viewsSport bike clamped in without straps.
|
|
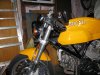
...after (hi-rise clip-ons).694 views
|
|
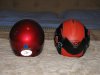
Back side693 viewsChin bar in rear position.
|
|
692 views
|
|
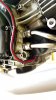
691 viewsClose-up of the OEM cable (red line) as it wraps around the front of the clutch and then to the starter post on the starter.
|
|

Mounting measurements689 viewsAll measurements are from the inside boundaries. Final measurements may slightly differ (~1/8") after bolts are tightened. This won't affect operation.
Drilling requires a 1/2" drill bit for metal. All of the holes in the vise parts are on the large side so there is a little bit of room for small tweaks in mounting positioning.
|
|
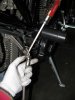
687 viewsWith patience and a little wiggling, use the screwdriver to help coax the coupling nut into the bracket.
|
|
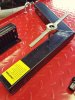
686 viewsI chased the clamp bolt holes with a tap to expose the bare metal. I opted to not use the supplied lock washers because I don't like the idea of them digging into the paint and exposing the metal to air and moisture (rust). So ALL fasteners have blue Loctite on them to hold them in place. I used a flat washer under every bolt head and under every nut.
|
|
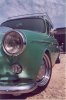
681 viewsBrooke's sweet ride.
|
|

679 viewsSC-1000 to tower, requesting fly-by!
|
|
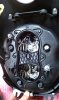
677 viewsRemove the headlight and place on a thick towel. The low-beam is at the top of the headlight, which is the top of this picture. This shows the back removed and the bulb area exposed -- there are 7 screws that hold the back on. The greyish-silver bolt at the 11 o'clock position on the outside edge is the headlight vertical adjustment. To get more operating space inside the housing I rotated mine anti-clockwise 6 turns. Make sure you mark the bolt with a spot on the housing so you know where to return it when everything is all installed.
|
|
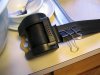
676 viewsTake your 'new' belts and clean them. Do this by pulling out the belt and securing it with something to keep it from retracting.
|
|
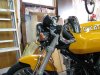
Before (stock clip-ons)...674 views
|
|

672 viewsHow the back side looks. Pretty darn close to how the stock units look in later cars!
|
|
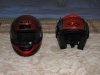
672 viewsChin bar in back position.
|
|
669 viewsThe last time I'll see this mess!
|
|
| 3332 files on 167 page(s) |
 |
13 | |
|





