 Most viewed Most viewed |
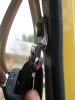
611 viewsThe new belt upper mount attached.
|
|
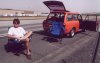
611 viewsKen and I wait for the crew to unbolt the Square's CV joints and turn it around. It took them about two beers to finally get back on the road.
|
|
Day 1: Friday611 viewsThe Oregon contingent lined up and ready to invade!
|
|
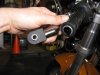
611 viewsNapoleon mirror removed.
|
|
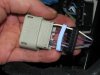
611 viewsSeparate the bottom plug (black) and the seal (light blue) within. You'll need to unwrap the black electrical tape on the wiring and throw it away. This will give you the needed slack in the wiring.
|
|
609 views
|
|
609 viewsWhat do you do with the left-over stock grips? You could use 'em for handle holders.
|
|

608 views
|
|
608 views
|
|
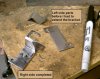
608 viewsDue to the accessory plug on the left side the left bracket couldn't be a mirror image of the right side. I ultimately had to weld another piece of metal to bridge the original pieces, moving the resistor mounting plate further inboard and to the rear.
|
|

607 views
|
|
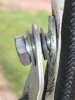
606 viewsJust a reference of how the upper mount should look when the new one goes in.
|
|
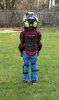
Back side606 viewsFlexible spine protection.
|
|
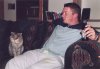
605 viewsHere is Per trying an American beer while Tommy Fat Cheeks waits patiently for a cheek scratchin'.
|
|
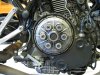
605 viewsThe original OEM clutch.
|
|
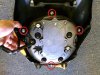
605 viewsRemove these four bolts (4mm Allen) to free the headlight from the headlight fairing.
|
|

604 views
|
|
604 views
|
|
603 views
|
|
603 viewsEagle-eye Per spots a treasure behind the Chevron gas station…
|
|
| 3332 files on 167 page(s) |
 |
17 | |
|





