 Most viewed Most viewed |
530 viewsNothing in the way, now :-D
|
|
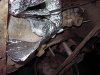
530 viewsThis picture and the next show that the corner is cut and folded onto itself. It's best to have over-lapping than a gap in the insulation.
|
|
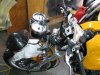
530 viewsIn order to remove the upper triple-tree the headlight needs to be removed and then the U-shaped ladder part that the headlight attaches to is then removed. Remove the two nuts at the bottom of the ladder then lift it up. Also, disconnect the headlight connector and put the headlight out of the way.
|
|
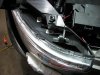
Applying the LED array to the head light.530 viewsI started from the top (right side of picture) and carefully removed the LED backing tape as I move towards the front of the head light. Just eye-balled the application but kept it more towards the inside of the light (engine side). This allows more light to be spread out onto the head light lens and disperse the light. I put a rubber tube around the wires to protect them from chaffing against the metal. Be sure to clean the lens well! I used rubbing alcohol and a clean rag.
|
|

529 views
|
|
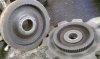
529 viewsInside of forward gear and planetary gear mating teeth.
|
|
528 viewsJust a hello from the little girl herself :-)
|
|

528 views
|
|

528 viewsShe got a Kobolt Double-Drive multi-purpose screwdriver with bits and a holster for it. She's now the coolest server validation engineer in the lab, LOL!
|
|
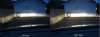
Fogs comparison with low beams on528 viewsLeft picture is with the fogs off -- Right picture is with the fogs on.
|
|
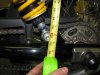
528 viewsI used the top of the hole in the bolt where the Allen wrench entered.
|
|
527 views
|
|

527 views
|
|

527 viewsView from the driver's seat with the fogs on. Notice the green "fog lights on" indicator to the right of the speedometer and below the red "fasten seat belt" indicator. I just finished adjusting the fog lights. The top of the light you see on the building wall is 14". If I went by the instructions it would've been 13" but I wanted just a little more distance.
|
|

526 views
|
|
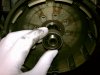
526 viewsRemoving the spacer.
|
|
525 views
|
|

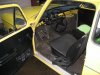
525 viewsCorner view.
|
|
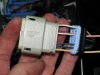
525 viewsHow it looks all wired up.
|
|
525 viewsTa-da!
|
|
| 3332 files on 167 page(s) |
 |
28 | |
|





