 Most viewed Most viewed |

503 viewsThose late night feedings can be tough!
|
|
503 views
|
|

503 viewsWatching Bella unwrap presents.
|
|
503 viewsBrooke and Martin explaining to Martin's wife about the Butt, er, Bus Pilots incident. Look at Per, that boy just can't get enough American beer! :-)
|
|
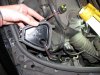
503 viewsCable passed through hole, ready for the gasket.
|
|

503 viewsThe "OUT" port is on the right side of the tank and this is where the fuel is outputted to the fuel injectors. The "IN" port is where the fuel is pushed back into the tank/pump. At the end of the IN port, inside the tank, is the pressure regulator.
|
|
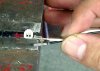
503 viewsReference picture.
22GA wire. How the terminals look and are positioned for insertion (crimps up) into the plastic housing.
|
|
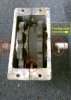
Reference: Front gear box503 viewsPlanetary pin on left side of box (bottom of picture), drive shaft with roll pin is on the right side of the picture.
|
|
502 viewsCarvin' 'em up!
|
|

502 viewsEverybody making a silly face.
|
|
502 views
|
|
502 views
|
|
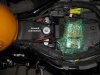
502 viewsThe PCIII protected inside some bubble-wrap and under the seat.
|
|

502 viewsA quick video tour of the installed harness. For easier viewing please go to http://www.youtube.com/watch?v=h8ePhGSbxso
|
|
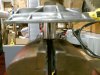
502 viewsHow it looks using a vice. The push rod is free to move as the socket is resting on the vice clamps.
|
|
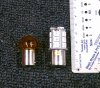
502 viewsSize comparison of the incandescent (left) bulb vs. the LED unit (right). Though the LED unit is taller it will still fit inside the signal housing with room to spare.
|
|
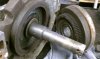
502 viewsInside of rearward gear and planetary gear mating teeth.
|
|
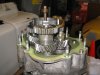
501 viewsThis is what I saw when on the tanny end when I removed the tail cover. That dumbbell looking gear stack directly in front is what goes on the shaft that is inside the tail cover.
|
|
501 viewsGathering for the BBQ at my place.
|
|

Day 3501 viewsTried snorkeling again. Fail.
|
|
| 3332 files on 167 page(s) |
 |
34 | |
|





