 Most viewed Most viewed |

493 views
|
|

493 views
|
|
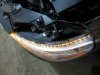
493 viewsTop view of LEDs firing.
|
|
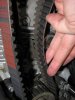
493 viewsBecause the teeth line up on the center pulley you can place the replacement belt right next to the old belt, lining up the belts tooth to tooth. No need for counting!
|
|

492 viewsFog harness using a hook on the right side radiator fan surround.
|
|
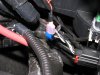
492 viewsShowing how the make connector fits on the tap-in. For the LED wires use RED connectors! I use a professional crimper to give me consistent, quality crimps. Because the LED wire was so small I strip away about 1/2" of the insulation and then fold the wire back on itself, then insert it into the connector. This allows more material (wire) to fill the space and make a more solid connection & crimp. The black 'goo' is dried liquid electrical tape. I also use electrical tape on the connector and wire to help protect the connector from collecting water.
|
|
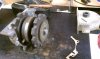
492 viewsTaken apart with the rear case fully removed.
|
|
491 views
|
|

491 views
|
|
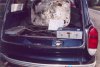
491 views…and what it looks like during operation.
|
|
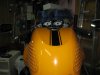
...after.491 views
|
|

490 views
|
|

490 views
|
|

490 viewsStringing up the lights.
|
|

490 views
|
|
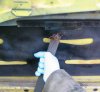
490 viewsEither slide the arm out from the bracket or slightly pull down and towards you to release from lifter channel.
|
|

490 viewsFront comparison.
|
|

490 viewsMy Sweetie, waiting for chow.
|
|
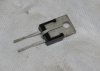
490 viewsHere's the VR. The center pin is a ground and the easiest way to ground it is to CAREFULLY bend it back onto the backside of the VR body. It will then be pressed against the gauge cluster body that is grounded. The pins are delicate and if you bend them too much they will break!
|
|
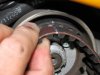
490 viewsAt the top pulley you mark the replacement belt perfectly with the mark on the old belt. You can now remove the vertical belt and quickly replace it with the new belt, followed by the horizontal belt. Adjust the belt tension and then go ride!
|
|
| 3332 files on 167 page(s) |
 |
37 | |
|





