 Most viewed Most viewed |
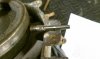
483 viewsPlanetary gear in position and pin marked where it needs to be cut.
|
|

482 views
|
|

482 views
|
|
482 views
|
|
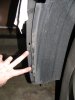
482 viewsRemove the two screws that attach the wheel well splash guard to the front bumper skin (left side shown).
|
|
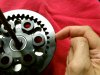
482 viewsI used the hole in the pressure plate...
|
|

481 views
|
|
481 viewsShoulder portion of belt locked in place.
|
|

481 views
|
|
Before...481 viewsThe bottom of the switch housing is at 34".
|
|
481 views...to mate with the notch in the one clutch spring post. I seriously don't think it matters but I tried to follow the workshop manual instructions as closely as I could, just in case.
|
|
480 viewsRear comparison. Notice that the wiring terminals are in a different location. Doesn't affect installation.
|
|
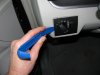
480 viewsHarbor Freight trim tool (nylon kit, non-scratching, less than $6) used to pry the light switch out. Very easy.
|
|
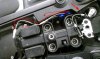
480 viewsThe pigtail length I used was 35mm and the red line shows how it's laid inside the seat pan with the resistor wires coming in an OEM hole (arrow) and spliced into it. This is all hidden by the "tool tray". I could've shortened it by a couple centimeters but it works as is.
|
|
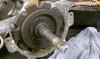
480 viewsRearward gear with original grease. The "B" means back lift box.
|
|

479 views
|
|
479 views
|
|

479 viewsMommy and Ronin makin' faces.
|
|
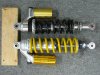
Detail 1479 viewsOEM Sachs on top (black spring) and Ohlins racing on the bottom (yellow spring).
|
|

478 views
|
|
| 3332 files on 167 page(s) |
 |
40 | |
|





