 Most viewed Most viewed |
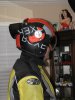
1067 viewsChin bar all the way back.
|
|
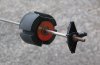
1064 viewsBottom view of the float.
|
|
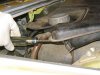
1062 viewsRemove the 10mm bolt from the rear, right side of the expansion tank. Note that in this picture the drain hose has been disconnected.
|
|
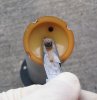
1061 views(This is a copy of the last picture but the disassembly is the opposite of the assembly :-) ) Unbend the tabs surrounding the retaining nut and remove the nut. Grab the top of the sender assembly and pull the tube away from the top. This will expose the float and wires.
|
|
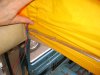
1060 viewsFront left corner. Wires feed Riviera pop top light.
|
|
1058 views
|
|
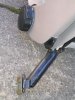
1054 viewsOutboard slider side of seat.
|
|
1050 views
|
|
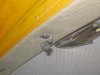
1049 viewsTrim at front of roof opening (that broken dome light is the front unit).
|
|
1040 views
|
|
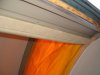
1030 viewsLooking up at interior trim from outside the sliding door.
|
|
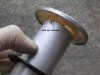
1023 viewsMake sure the notches line up when putting it back together.
|
|
1022 views
|
|
1020 views
|
|
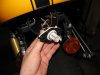
1020 views360-degree LED unit installed.
|
|
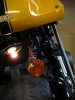
1013 viewsStock bulb, parking light mode.
|
|
1012 views
|
|
1012 views
|
|
1010 views
|
|
1007 views
|
|
| 3332 files on 167 page(s) |
 |
5 | |
|





