 Most viewed Most viewed |
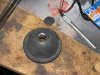
450 viewsTo hold the cover up while cutting, I used a 1/2" socket underneath. Use a very sharp Xacto blade and cut s-l-o-w-l-y and carefully.
|
|
450 views
|
|
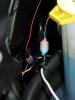
450 viewsThe red wire in the background is the turn signal tap while the white wire in the foreground is the feed to the DRL array.
|
|
450 views
|
|

449 views
|
|
449 views
|
|
449 views
|
|
449 viewsMake sure the step in the spacer fits accordingly!
|
|

449 views...oh my, yes they did!
|
|

449 viewsShowing daddy and Roni her pumpkin for collecting treats.
|
|

449 views
|
|

449 viewsHow the wire will be placed in the connector.
|
|
448 views
|
|
448 views
|
|
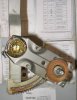
448 viewsClose-up of front side.
|
|
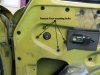
448 viewsRemove window crank, door handle release trim (escutcheon), door card (panel) and remove vapor barrier. Remove the four shown bolts with a 10mm wrench.
|
|
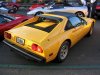
448 viewsFerrari 308.
|
|

448 views
|
|

448 views
|
|

448 views
|
|
| 3332 files on 167 page(s) |
 |
55 | |
|





